COMPASS TUTORIAL
INTRODUCTION
Compass is the USAWC’s student information system (SIS). You will use Compass to access the following administrative functions and tools:
This section provides you a step by step tutorial on how to access these administrative components of Compass. You will learn the following topics:
ACCESSING COMPASS
You can access compass on a NIPR, Non-NIPR, CAC enabled, or non-CAC enabled machine from the following address:
http://www.armywarcollege.edu/compass/
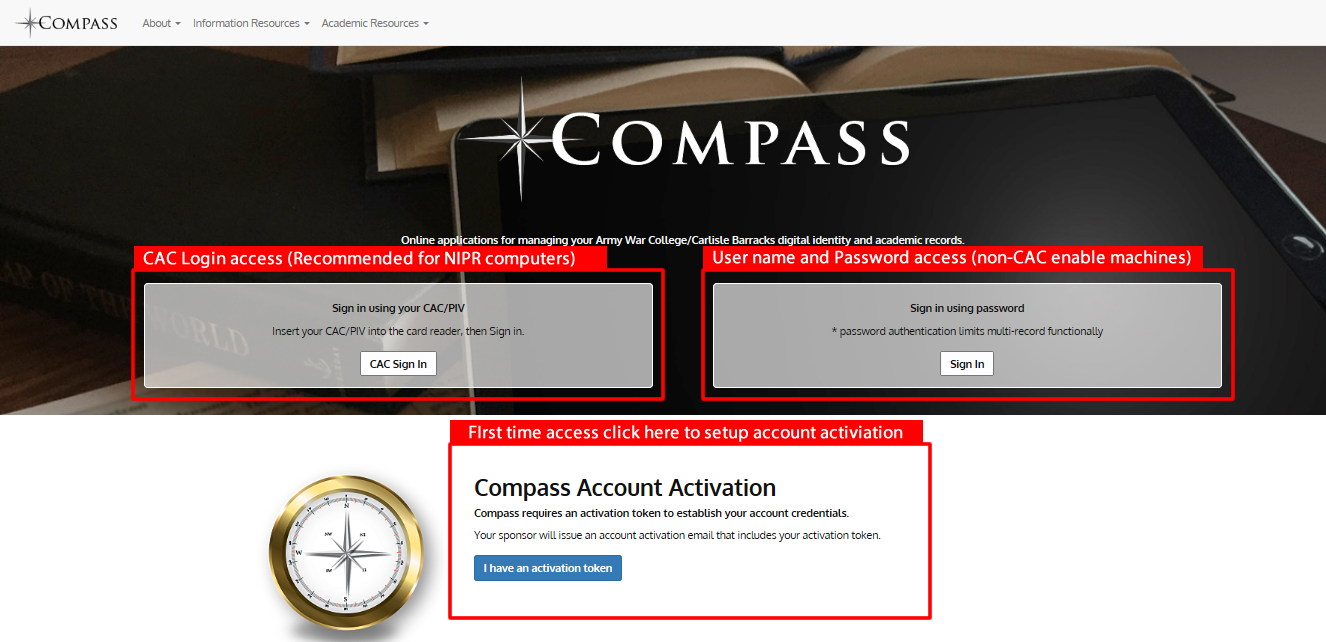
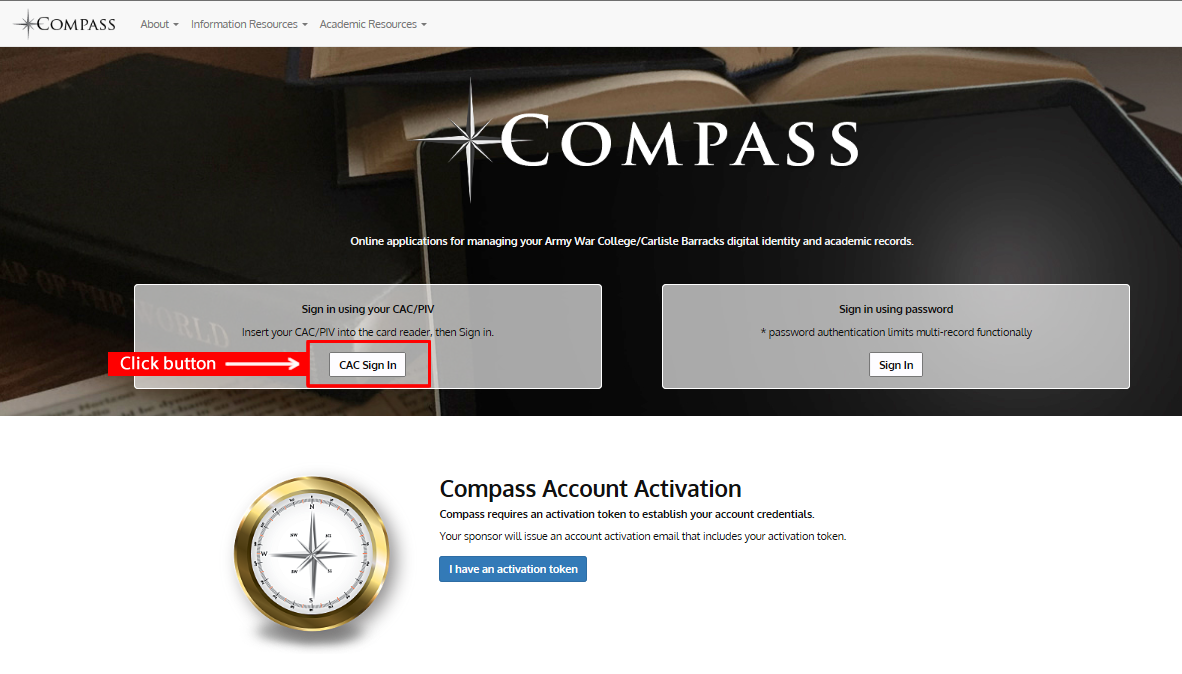
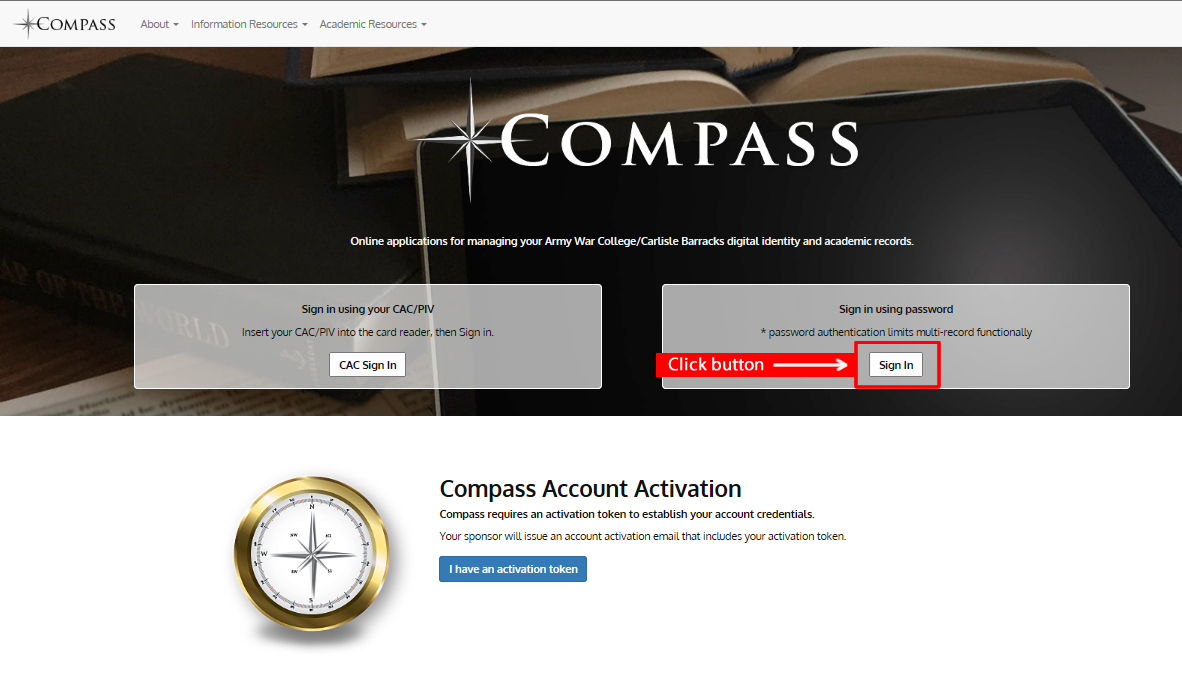
Upon clicking the link, the following screen will appear (NOTE: the red boxes and text are for tutorial guidance and does not appear within the actual application itself):
COMPASS ACCOUNT ACTIVIATION, CAC REGISTRATION, AND PASSWORD CREATION
In order to use Compass you must activate your account. In order to activate your account you need an activation token. A token was provided to you in your welcome letter (Recommended that you copy the token and paste into the appropriate place).
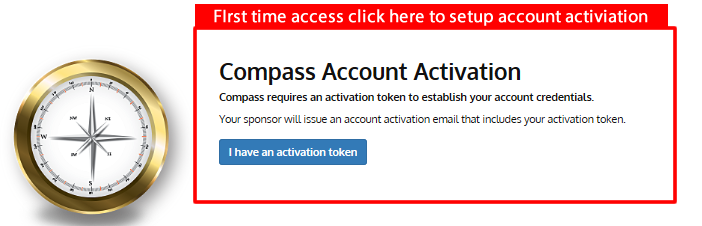
1. Click the blue “I have an activation token” button.
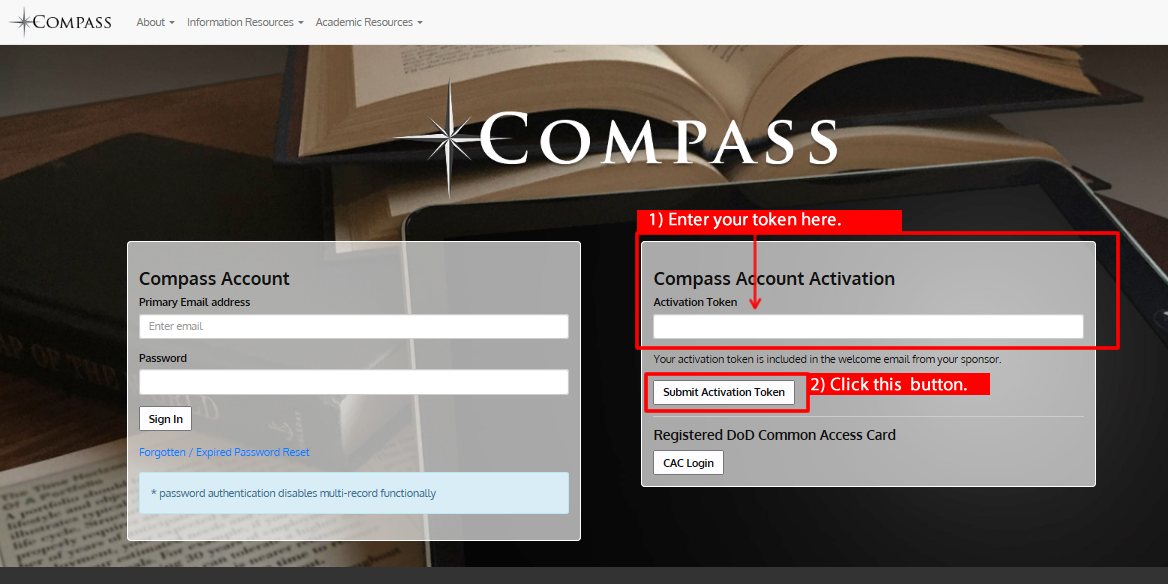
2. A Compass account access page will appear. In the text box under “Activation Token” enter the token you copied from your welcome letter. Then clink on the Submit Activation Token button.
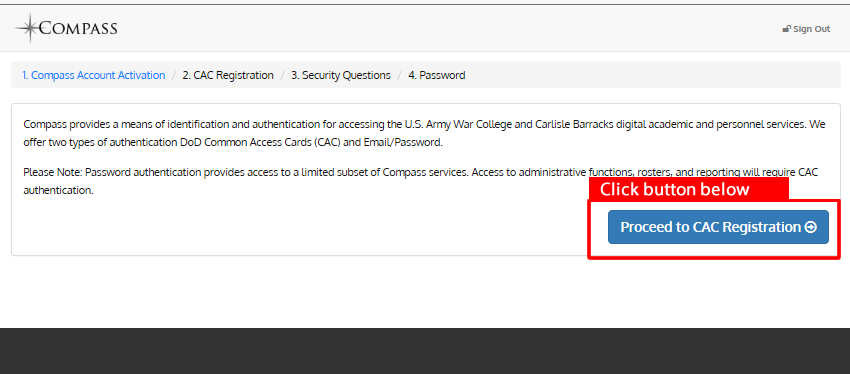
3. Once you click on the button. The following screen will appear. This will take you through 4 steps to register your CAC, create security questions, and set a password. Click the blue “Proceed to CAC Registration” button.
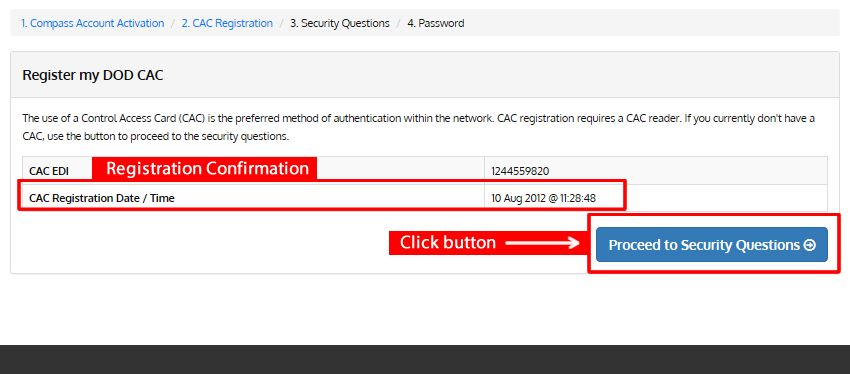
4. The next screen that appears will tell you that your CAC card has been registered. Click the blue “Proceed to Security Questions” button. (Note: it is VERY important that you compete the Security Questions step)
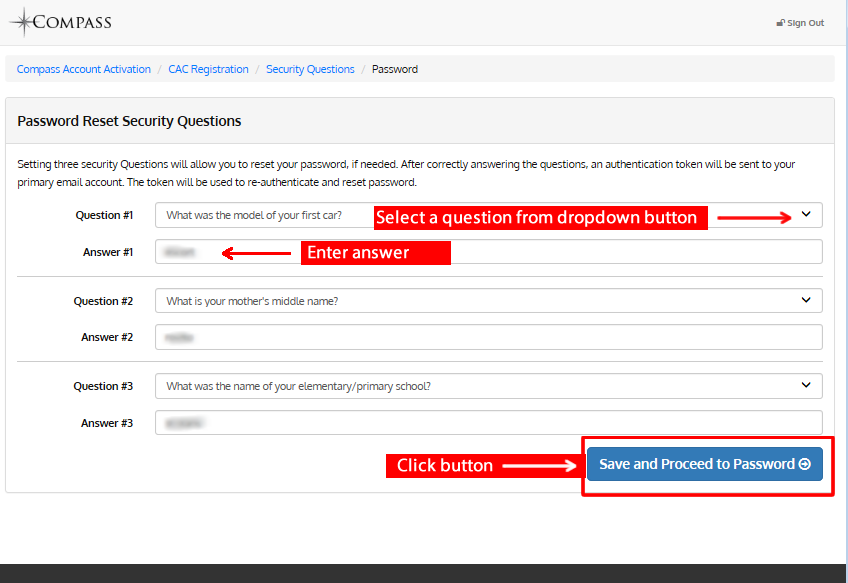
5. On screen shown below you will be asked to choose 3 security questions. This is a VERY IMPORTANT step as the complexity of the password and the frequency of password expiration makes it easy to forget your password. These questions will enable you to reset your password should you forget. You must put in answers for all 3 questions and REMEBER THEM! There is no excuse for failing to complete your work because you could not remember your password and failed to setup your password reset questions.
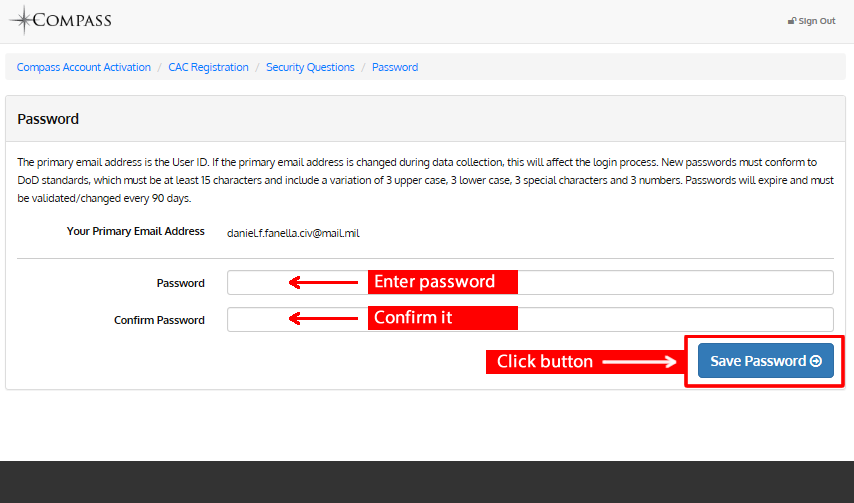
6. On the screen shown below, you can create a password in order to access Compass from a non-CAC enabled machine. Please be advised that the password you create is very complicated and has a short expiration of 90 days. Therefore it is imperative that you have setup and remember your security questions. Passwords are a minimum 15 characters in length, with a requirement of 3 upper, 3 lower, 3 special characters, and 3 numbers for example: AWSbee@#25!5s2e.
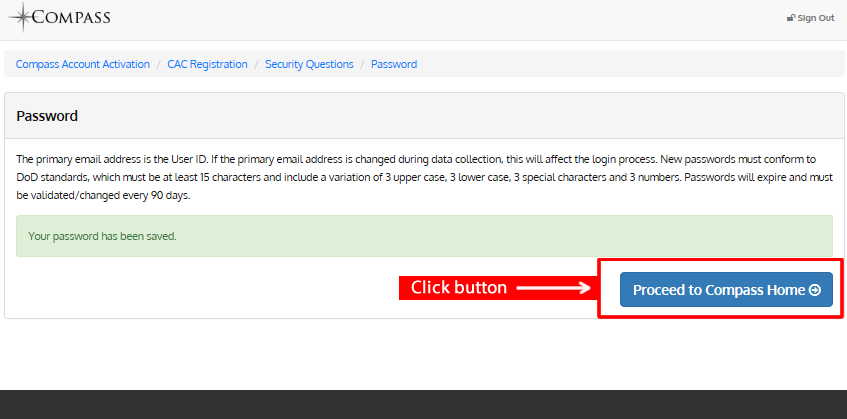
7. A confirmation page will appear indicating that you have successfully created a password and that the password has been saved. Now you are done, click the blue “Proceed to Compass Home” button.
1. Click the CAC sign in option as you see in the screenshot below.
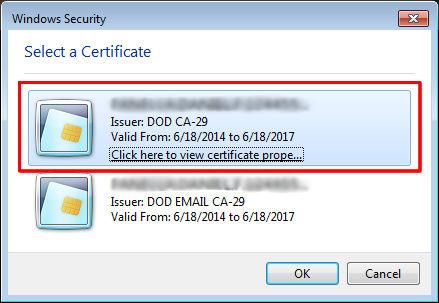
2. If you get this screen choose the non-email certificate.
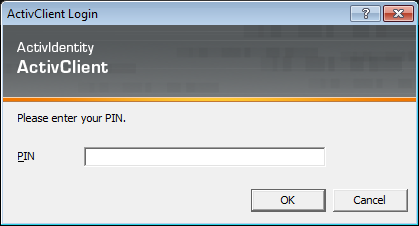
3.Enter the pin for your CAC card
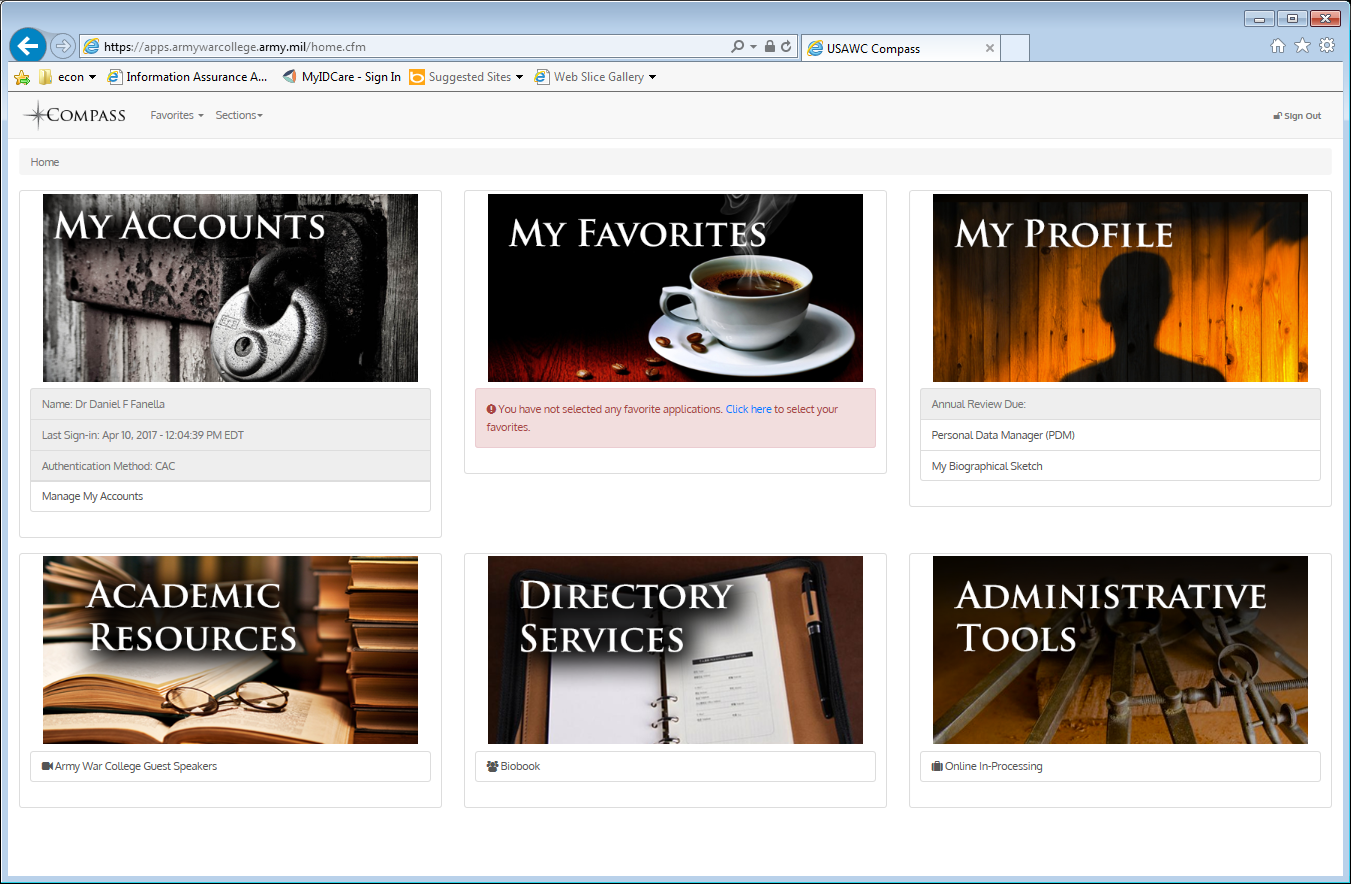
4. This will take you to the Compass home screen.
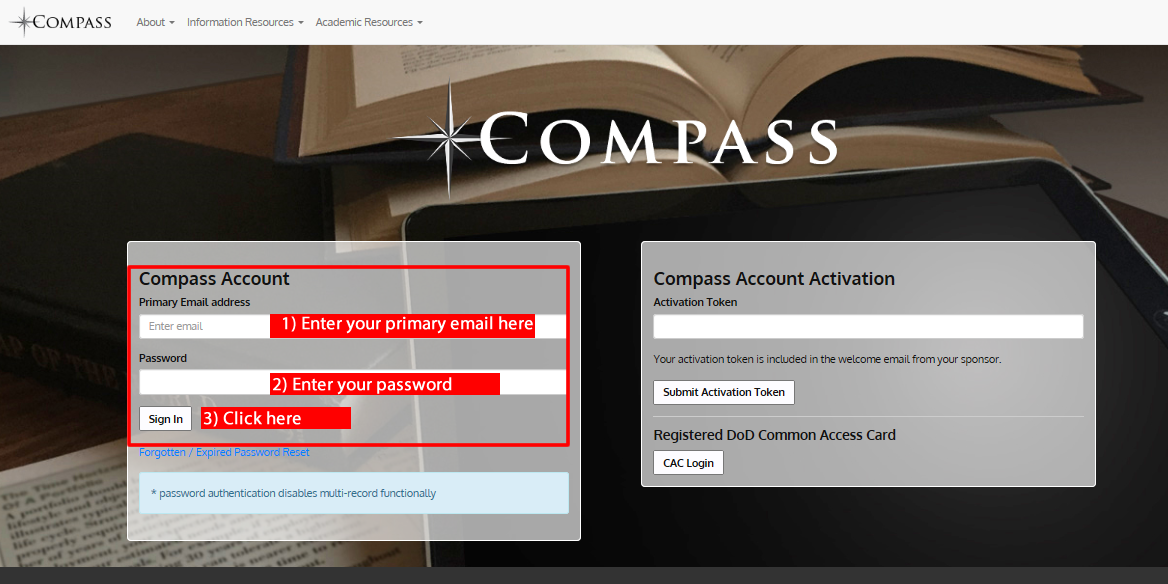
1. To sign in with your username and password, which you will have to do from a non-CAC enabled computer, select the “Sign in using password” option.
2. On the left of the screen to enter your primary email address and password. Then click on the sign in button. Note: your user name for both Compass and Blackboard is your primary email address. If you change your primary email address you change your “username” in both Compass and Blackboard.
3. The Compass home screen will appear.

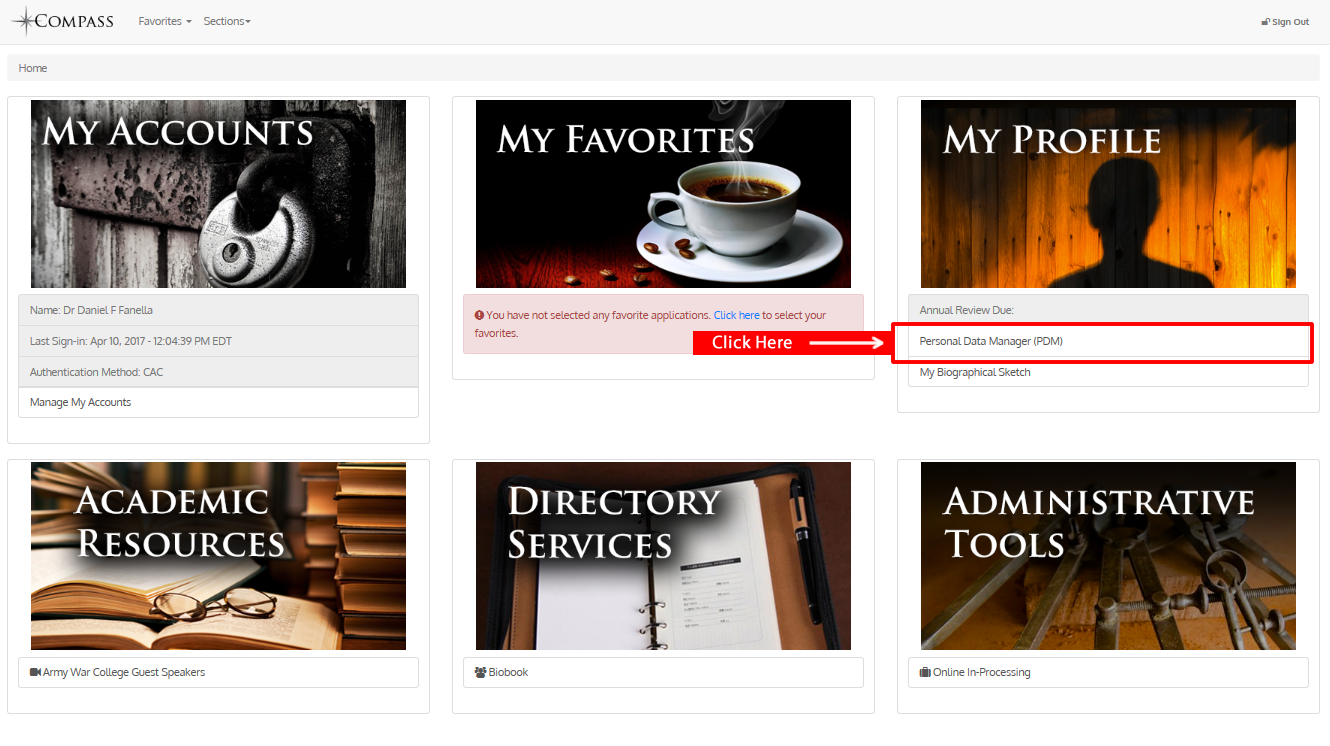
The Personal Data Manager (PDM) is a repository for all of a student’s personal data. This data is different form the Biographical Sketch. The data in the PDM is data that only you or authorized personnel (The Registrar, Admins, etc.) have access to such as you SSN or home address. The Biographical Sketch contains data that is for public consumption such as your degree(s), curriculum vitae, etc.
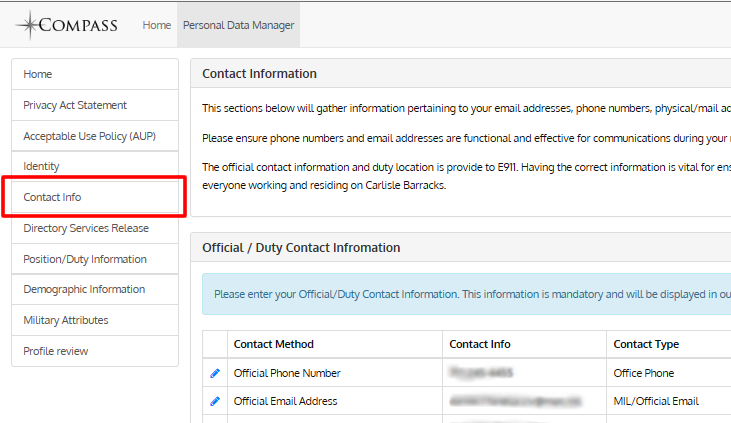
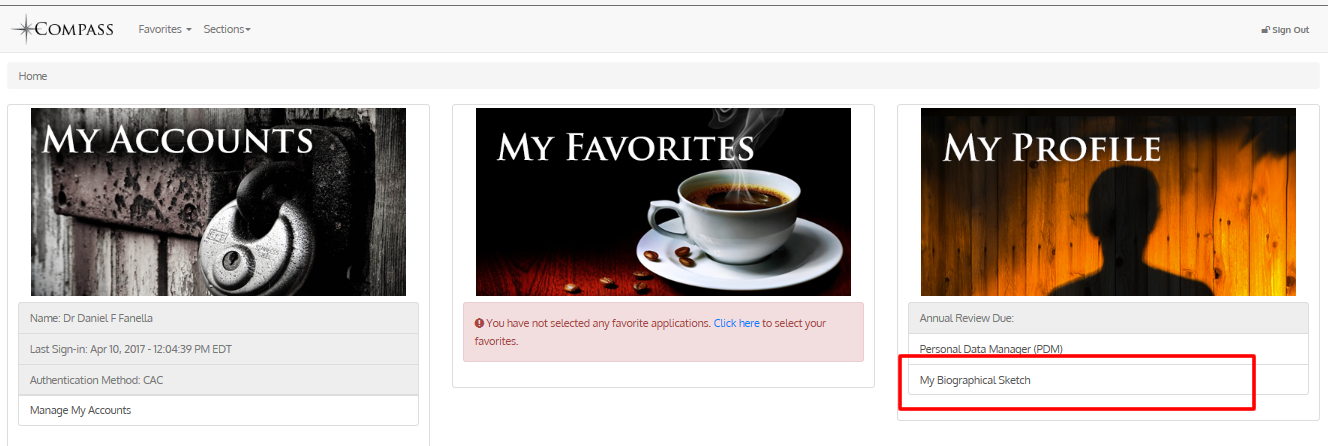
1) To access the PDM, click on the Personal Data Manager option on the My Profile section of the opening Compass webpage.
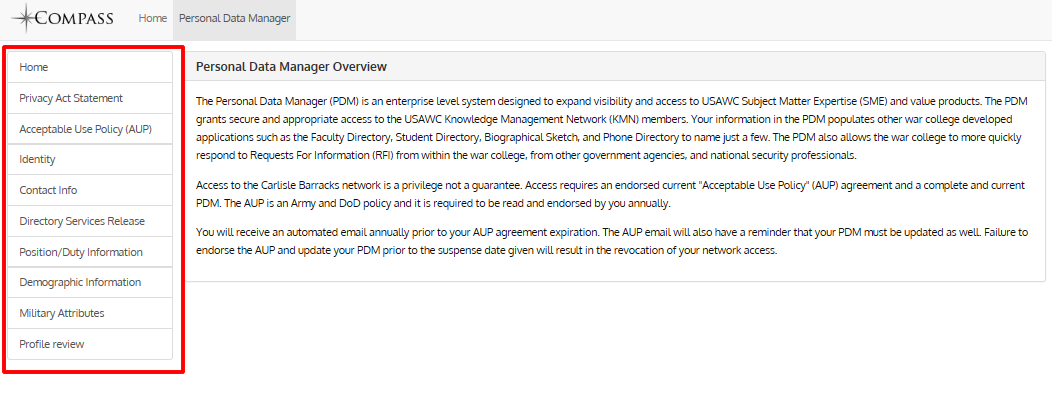
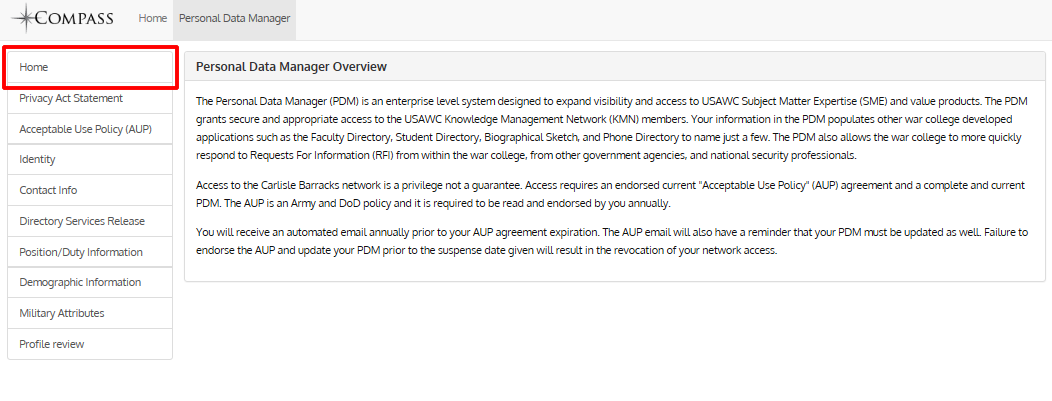
3. The following is an overview of each PDM option on the left.
HOME: Gives you an overview of the PDM and its purpose.
PRIVACY ACT STATEMENT: This area enables you to review the privacy act statement.
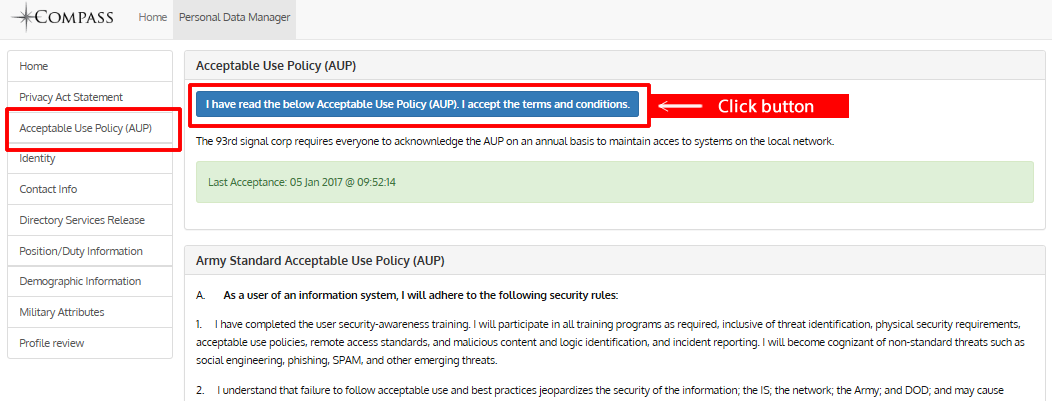
ACCEPTABLE USE POLICY: This area is where you can review the acceptable use policy and indicate that you have read and accepted the terms. Click the big blue button to accept the terms.
IDENTITY: This is where you can manage and update your identity, including you SSN and birth information.

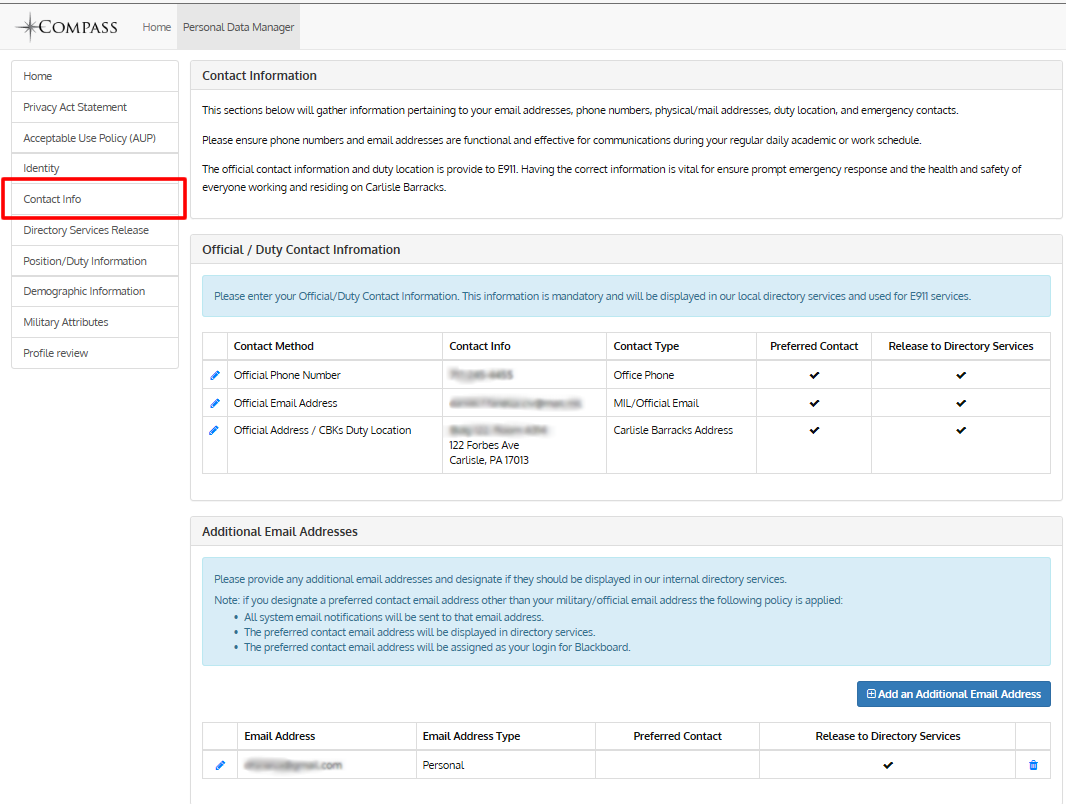
CONTACT INFO: This is where you can update and maintain your contact info, such as your office phone number, official e-mail address, etc. NOTE: changing your Official E-mail address changes your login in Compass and Blackboard.
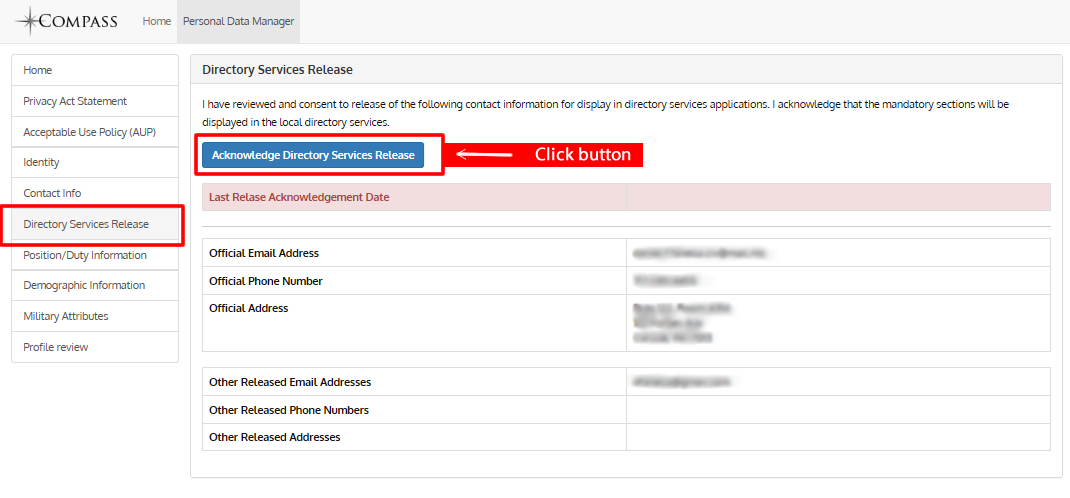
DIRECTORY SERVICES RELEASE: This is where you can consent to have your official email, phone number and address as well as other designated info release to directory services. Click the Blue button to acknowledge the release.
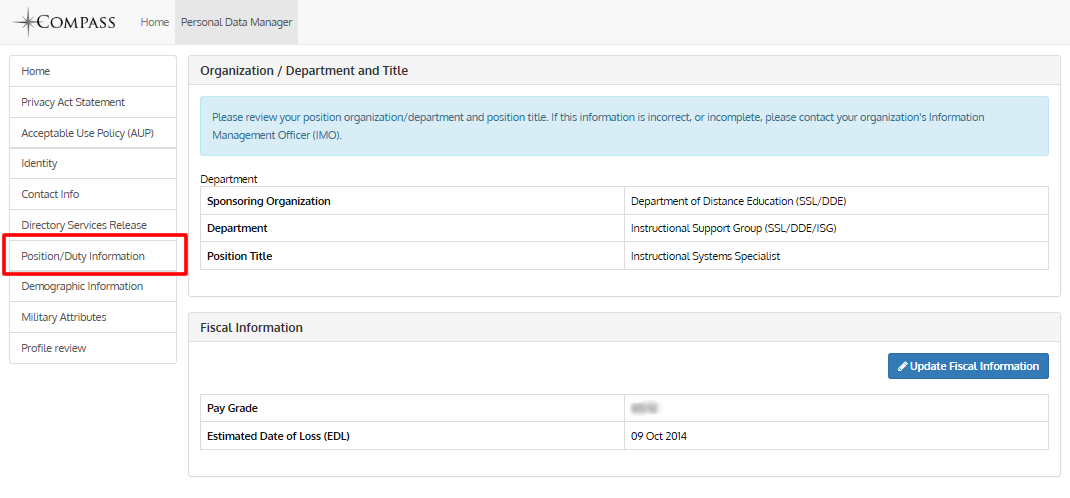
POSITION DUTY INFORMATION: This option allows you to review and update your organizational and departmental information.
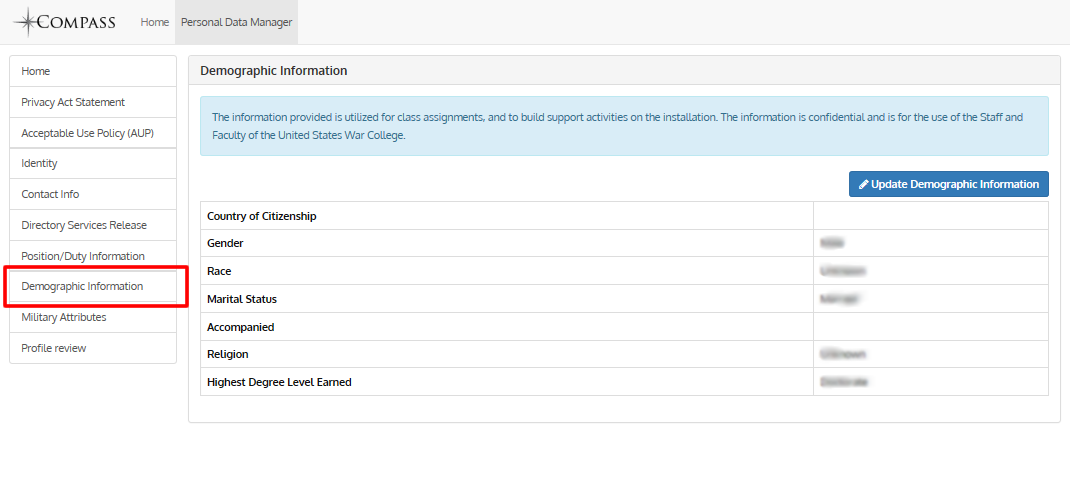
DEMOGRAPHIC INFORMATION: This section allows to update and maintain your demographic information.
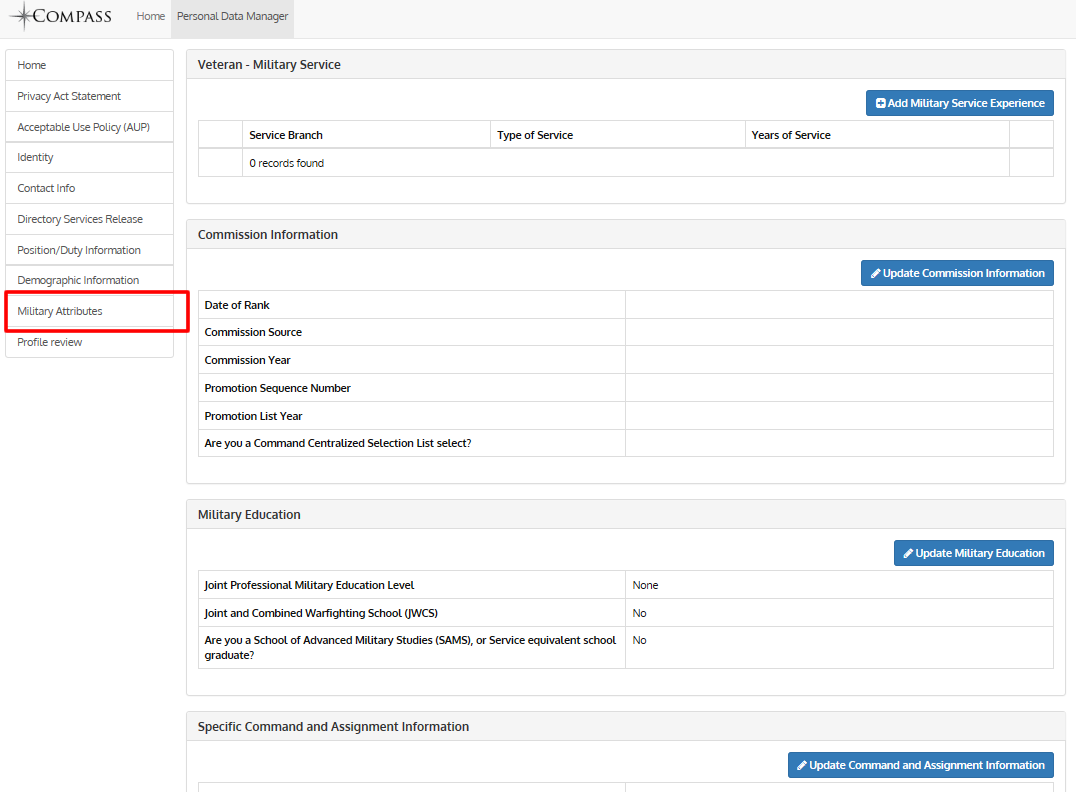
MILITARY ATTRIBUTES: All military attributes can be maintained and updated here. Former military and civilians that have any applicable attributes may enter and maintain it here.
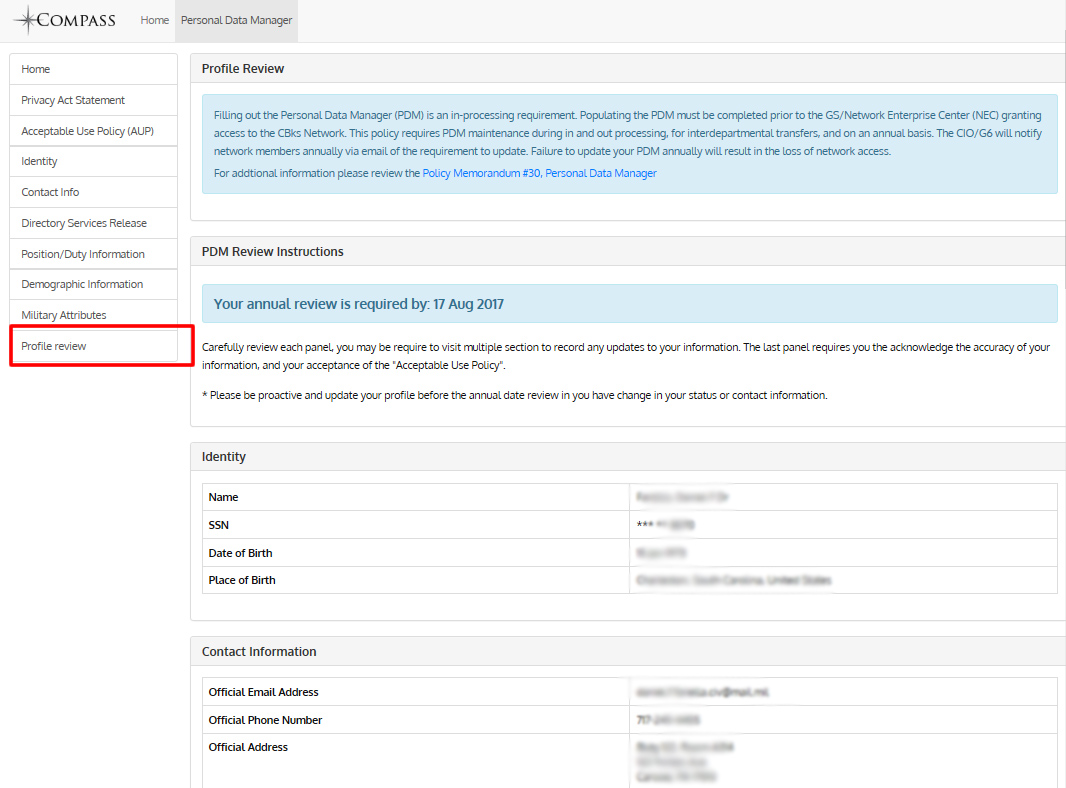
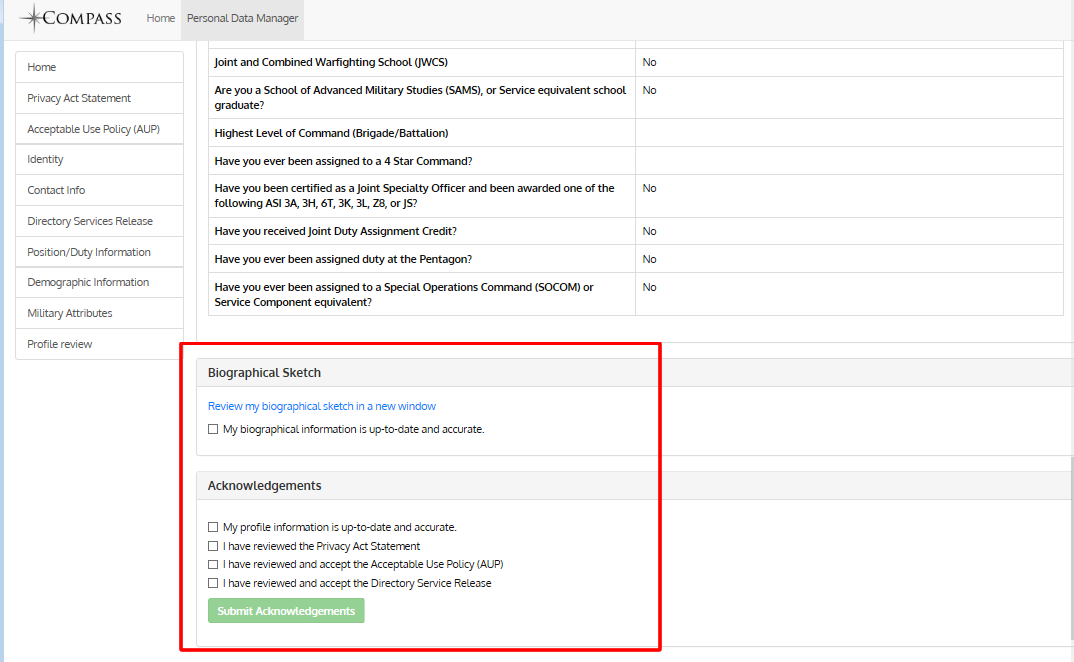
PROFILE REVIEW: Here is where you can see all the information you have entered in your PDM in one spot. All Personal Data requires you to review it yearly and acknowledge the accuracy of the data. You also acknowledge that your Biographical sketch data is accurate here.
Acknowledgement screens:
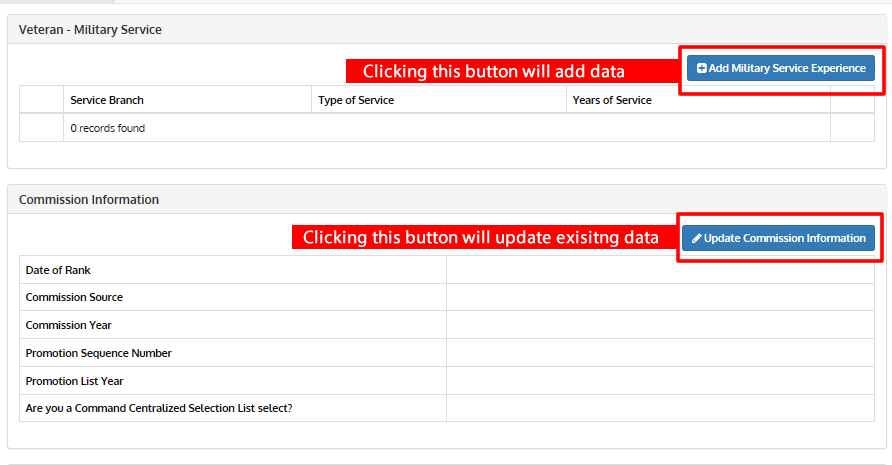
All data within the PDM can be easily updated or added by clicking on the blue update or add buttons. See screenshot below for an example on how to update/add your Military Attributes:
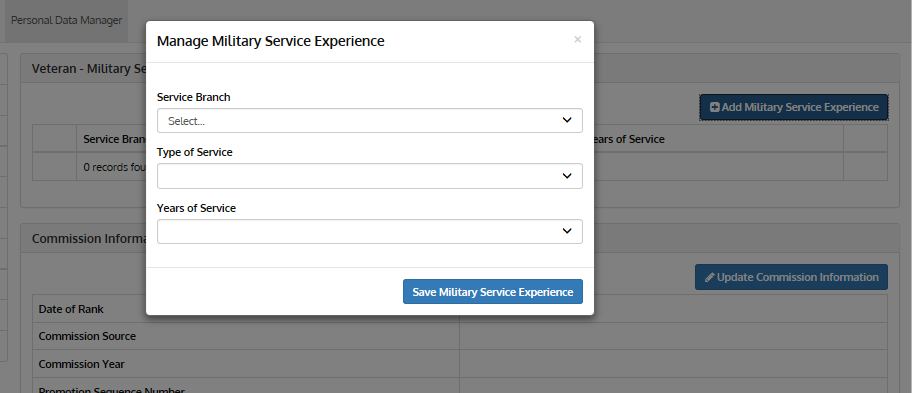
When you click on a button to add data you will get the following popup screen (NOTE: that since your data is being added the items are blank). Once you enter the data click the blue save button in the bottom right of the window:
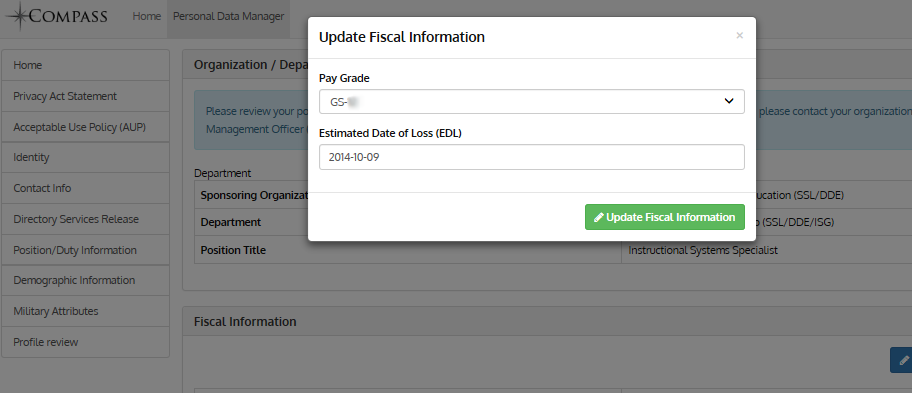
When you click on button to update data you will get the following popup screen (NOTE: that since your data is being updated, the items are filled in with the current data). Once you update your data click the green or blue update button in the bottom right of the window:
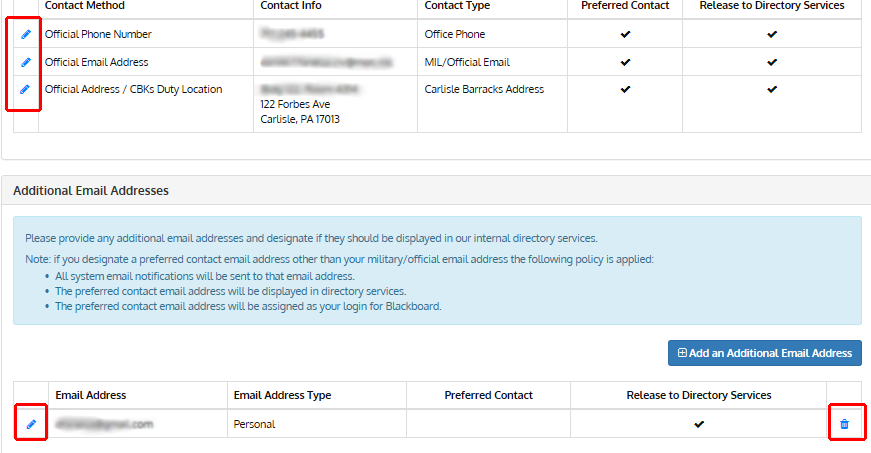
When you have a list of data you may see a blue pencil icon or a blue garbage can icon. These are the edit and delete options. Click on them to edit a list information or delete an item from the list.
You official email is your main login for both Compass and Blackboard. If you change your official email address your login will change for Compass and Blackboard.
1) To change your official email go to contact info within your PDM
2. Next click on the blue pencil to the left of the Official Email Address item.
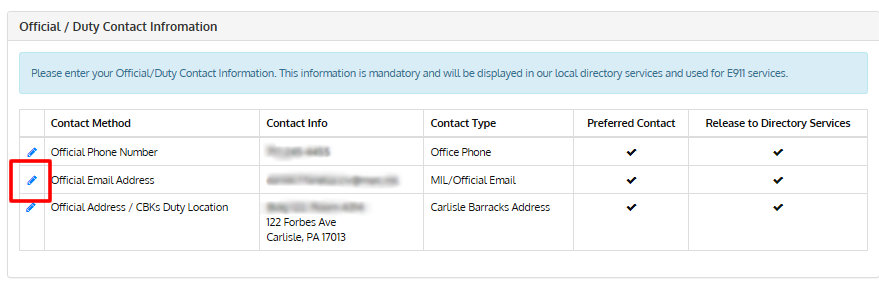
3. In the popup window that appears, change your email address in the Email Address text box. Once you update/change your email address, click the blue “Edit this Official Email Address” button in the bottom. Your official email address has now been update and so has your Compass and Blackboard login.

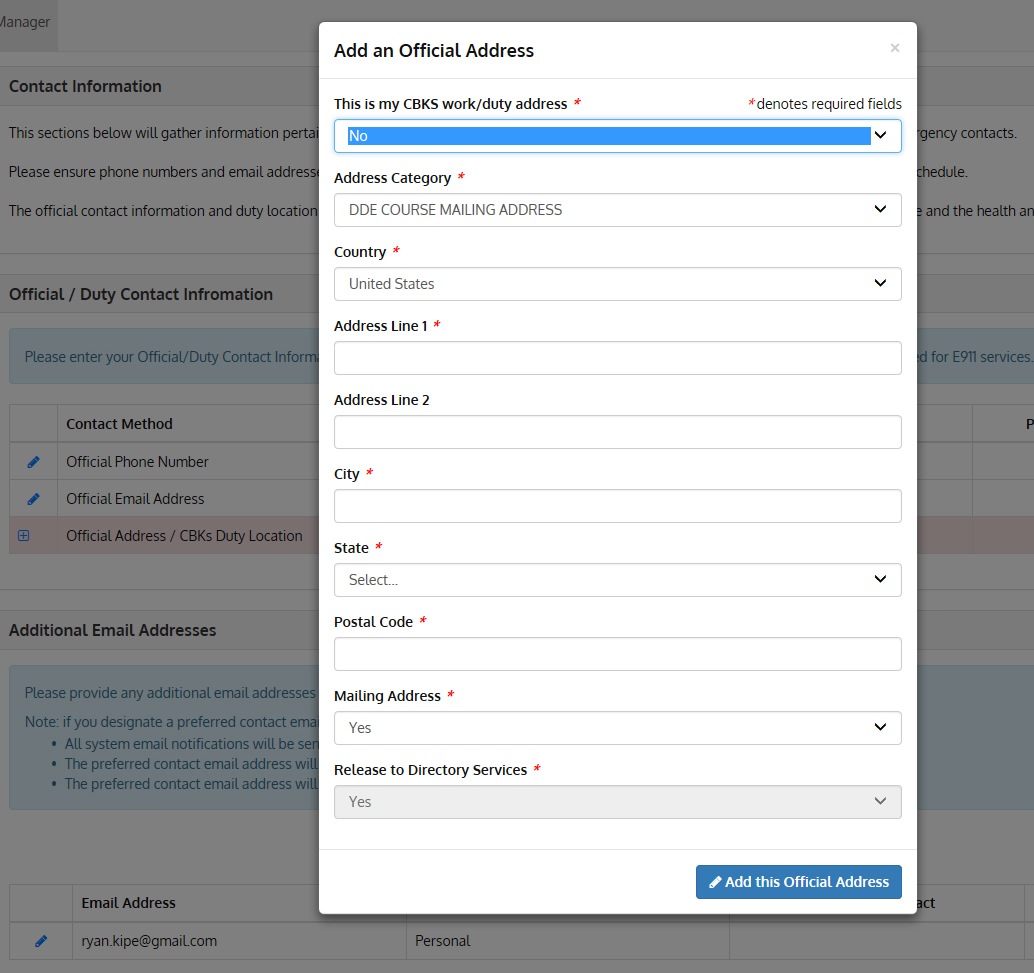
ADDING A NEW OFFICIAL ADDRESS
If you need to add a new official address and your a DDE student who does not live or work at Carlisle Barracks select "No" when answering the first question, DO NOT skip over this question or assume it is yes.
The biographical sketch section of Compass is where you can add various skills, experiences, and career summaries that others can look at in order to get a better idea of your knowledge, skills, abilities, and experiences. Filling out the bio sketch information is a requirement for DE2300 block 1 and for all DEP students.
1) To access the biographical sketch click on the “My Biographical Sketch” option within the My Profile section on the opening screen.
2) Once you are in the bio sketch screen you will see that you have 14 categories of biographical information that you can add or update. Note: not everyone will have data to input into each category. For instance, you may not have any publications, and that is OK, but you will need to fill it out as completely as possible. Click on a category on the left to access the screen that will enable you to enter the appropriate biographical data.
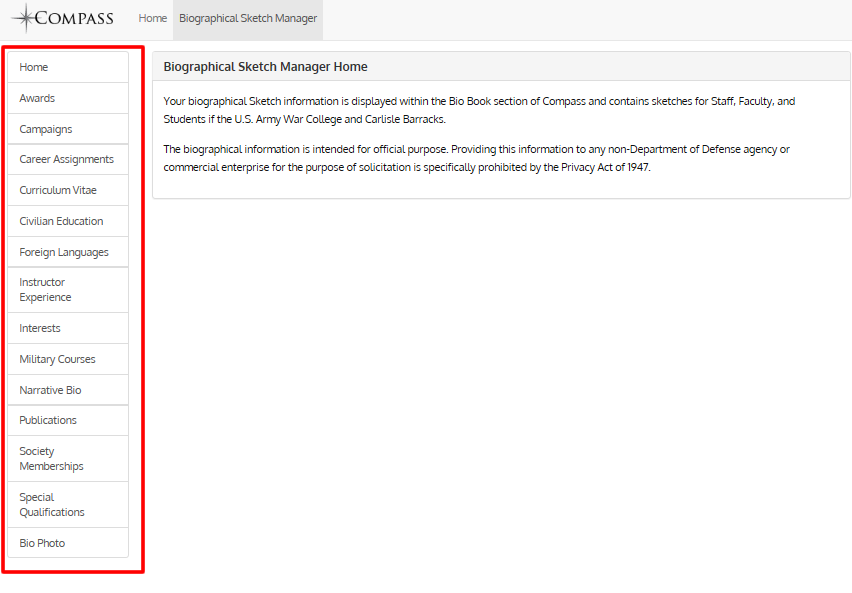
There are 14 biographical categories that you can update. Although the categories are all different, the update and add processes are the same. The next few steps will illustrate the process.
1) In order to update your biographical sketch. Click any category on the left.


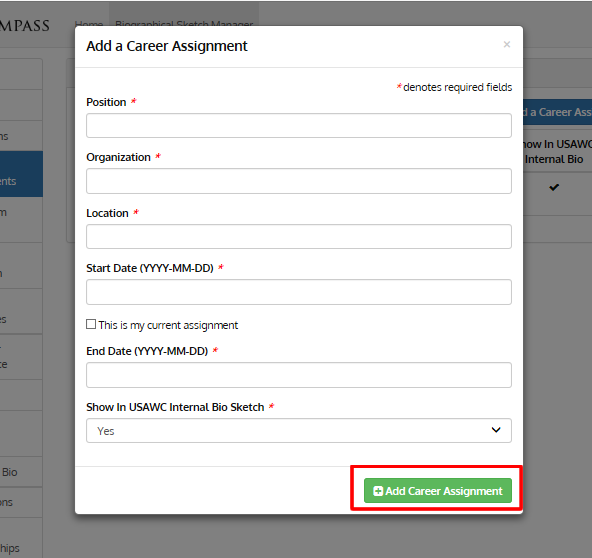
3. An add corresponding data assignment window will appear. In this case the window is titled “Add a Career Assignment.” Fill out the form and then click the green “Add …” button in the bottom right of the pop-up window.
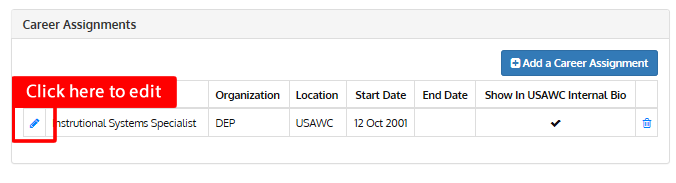
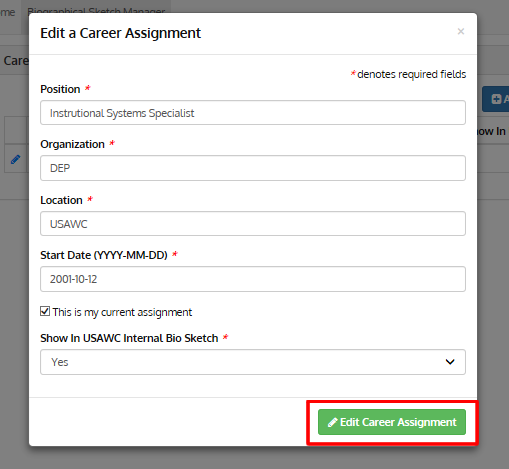
5) Once you click on the edit icon, a “Edit ……. “ window will appear. You will notice the form is filled out with the current data. Make changes to that data then click on the green “Edit … “ button in the bottom right
corner of the window.
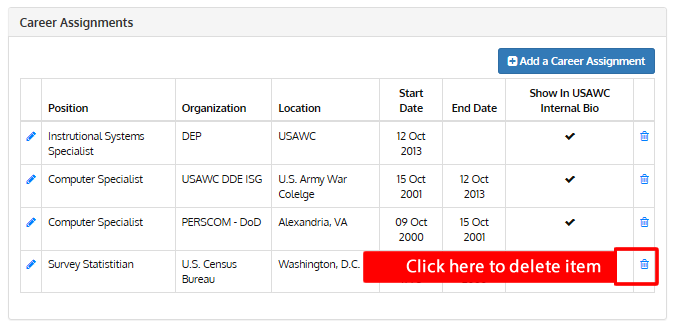
6) If you want to delete an item select an item from the list by clicking on the blue trash can icon.
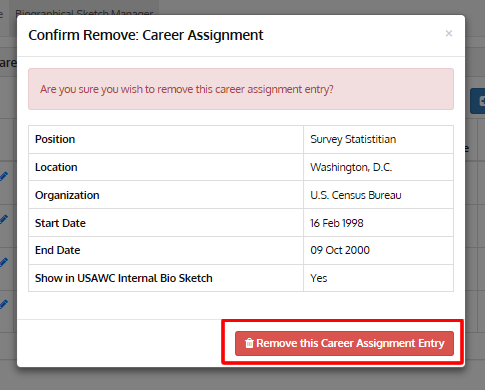
7) A confirmation window will appear. Click the red “Remove ….. Entry” in the bottom right of the window. The item will be deleted.
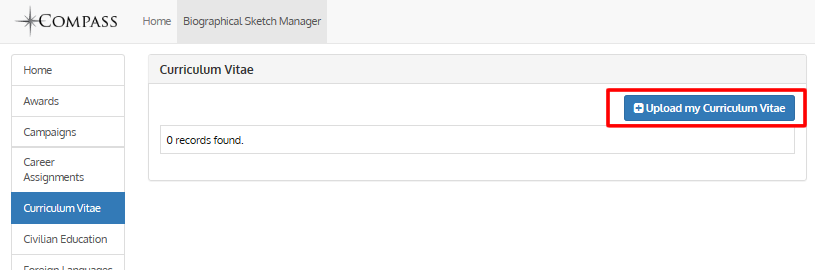
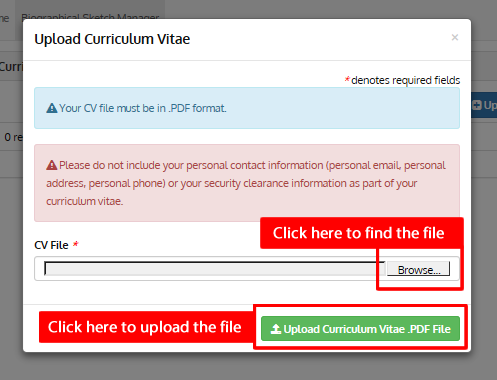
Some bio entries may require you to upload a file instead of just entering a line item.
1) To upload a file click on the blue “Upload …. “ button in the upper right.
2) An upload window will appear. Note that all files must be in PDF format. Also make sure no PII is listed on files uploaded to your Bio Sketch. Click browse to find and select a file that is located on your computer, then click on the green “Upload …. File” in the bottom right of the window. NOTE: the same process holds true for uploading your Photo. Additionally make sure no PII, such as your SSN, appears on your photo.
GETTING STARTED (BLACKBOARD)
EXPLORING THE BLACKBOARD WORKSPACE:
The Blackboard menu, the black bar across the top, reveals the various areas within the site. The menu will remain visible throughout your movement through the site.

My Courses. My Courses provides access to an institutional Course Catalog, a different view of your Course List and a Course Search capability.
My Communities. My Communities provides access to My Departments, Organization Discussion Boards, Department Catalog, and a Department Search tool all of which are unused by DDE students.
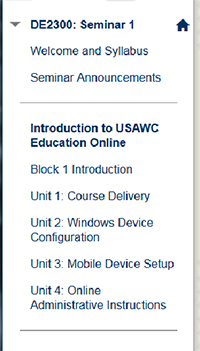
Accessing Your Courseware.
From My Courses or My Dashboard, simply click on the title of a displayed course. You will be taken into the Blackboard learning environment. The heart of your course is the navigation bar located on the left side of the Blackboard course environment. A sample snippet of this navigation bar is shown above. The structure used in DDE courses is a Learning Path arrangement consisting of a Syllabus, Announcements, and one or more Blocks subdivided into Units. The architecture of the courses allows you to move about within a block or unit as you desire, but presentation of course material is conducive to an orderly, almost sequential, approach to study. You should begin with the syllabus and proceed through the blocks/units in the order they are presented. Your courseware will be comprised of any number of the following: instructional commentary, readings, hyperlinks to .com/.org/.mil reading materials, multimedia components, PowerPoint presentations, videos, and others. For your convenience, some of the common icons we use in our courseware are shown below:
![]()
![]()
![]()
![]()
![]()
![]()
![]()
![]()
![]()
![]()
Announcements.
Each course into which you are enrolled will have announcements possibly annotated in one of the following ways; Announcements, Course Announcements, My Announcements, etc. You are automatically subscribed to the course announcements. Every time your faculty instructor creates an announcement, you will be notified via email. Announcements in Blackboard will primarily focus on course events. News & Events items in Compass will primarily focus on program events.
The BioBook.
This link will take you to the U.S. Army War College Biographical Sketch Book. It contains Bio information on the Command Group, Resident Students, DDE Students, DSC Students, International Fellows, AWC Fellows, Army Senior Fellows, and Staff and Faculty.
USAWC Library.
USAWC Library links to the United States Army Heritage and Education Center. Here you will find links to more than two dozen online data bases, military resources, and various search engines appropriate for USAWC studies, as well as the USAWC Library Catalogues. You can even view newspapers from across the country. You can request information from the library, just like a resident student. The Library will mail materials and fax shorter articles.
Some articles used in a course are researched and retrieved by the course author using USAWC Library search engines such as ProQuest and LexisNexis. Due to the subscription nature of the databases and journals, we are required to link you to that article through the USAWC Library using a login and password different than your Compass login and password. Those articles are identified by this icon and the link will take you to the article using the library’s databases after you have initially logged in during the browser’s session.
